improvisation

Activity: Teaching Improvisation

Improvisation can (and should!) be taught. Kristin created the activity below and I adapted it for my 4th and 5th grade residency this week. The students loved it! It’s a low-pressure way to introduce beginners to the wonderful world of making stuff up. Playing an improv by yourself is a highly exposed - and therefore high-pressure - act. This activity reduces the pressure by having everyone improv at once. Bonus: it also introduces the concept of a musical tag that indicates the beginning/end of an improvised solo.

  1. Have the students play 4 don in unison while you play a straight jiuchi. (Extension: see if they can tell you how many beats that was.)  

  2. Have the students play 4 don in unison, followed by 4 beats of improv (everyone at the same time). Keep the jiuchi going for those 8 beats.

    1. If students have trouble feeling the four, here's a way to build that skill. Alternately, you can count the 4 beats of improv out loud for them.

  3. Have them play several rounds of 4 don/4 beats improv; play a straight jiuchi the whole time.

  4. Stop to debrief. 

    1. For adults, a general “how’s it going?” will usually start a good conversation.

    2. For kids, have them talk in pairs about how it’s going, then choose several kids to share with the class.

  5. Go back to alternating 4 don/4 beats of improv for several more rounds. If students are doing extremely well, change to 8 don and 8 beats of improv.

Written out, it looks something like this:

Improv Exercise Graphic.jpg

This will go best with proper scaffolding. The school where I’m currently working can’t afford an ongoing music program, and very few students come from families that can afford private music lessons. Most kids had zero music education before I started there 3 weeks ago. I scaffolded this over two lessons using our Taiko Tiles and my method for teaching older kids to solo. Kristin and I have also done this in our adult community class and used our Taiko Tiles and Kuchishoka Deck to scaffold. Without that prior experience, this activity can be an exercise in frustration; with it, you have a fun challenge that builds student skill and confidence.

Happy teaching!

Taiko Games: Call and answer, but evil

Happy New Year, it’s great to be back! First some shout outs: to the inspiring and dedicated groups I worked with in November: Kokyo Taiko, Soten Taiko, Beni Daiko, Ft. Wayne Taiko and Southern Indiana Taiko; to the 200+ folks who took my workshop and the many more I met at the Percussive Arts Society International Conference; and to kaDon, who provided TimbreTaiko and uchiwa clamp setups for PASIC! These were practical and easy to use and you can read more about them here.

A few weeks ago I wrote about the power of Call and Answer to help students get used to improvising. I’ve also talked about how important it is to mix up your activities to keep students engaged. This is true for students of any age! The activity below is afantastic way to challenge students who are already successful at basic call and answer. Originally from my Orff training, I’ve adapted it for taiko.

  1. Play a 4-beat rhythm for students to echo.

  2. While they are echoing the first rhythm, play a second 4-beat rhythm. This is the next pattern the students have to echo.

  3. While students are echoing the second rhythm, play a third, and so on and so on until their heads explode.

The example below shows three full rounds and the beginning of a fourth. 

ComplexCanonGraphic.jpg

This is HARD, for students and teachers alike. In my experience, the first two rounds usually go fine; things go off the rails in Round 3. Start with just 3 rounds, and give students feedback on how they’re doing. As they improve, try more than 3 rounds. It’s really challenging to keep track of how well students are copying one rhythm while you’re playing a new rhythm, but you need to so you can give genuine feedback. (That’s what makes this challenging for teachers.) Let me know how this goes for you, and happy teaching!

Building Blocks for Improvisation: Call and Answer

BlogCallAndAnswer.jpg

Improvisation is a skill that can be scaffolded and taught. (Here’s a great explanation of what scaffolding means in education, for anyone not familiar with the term.) Call and Answer exercises are an excellent way to build this skill. They also build beat vocabulary, form and strike fundamentals, and a student’s musical ear. 

Start off call and answer by playing simple 4-beat phrases and having students echo you. Start with simple phrases, without much ma or syncopation, and gradually work up to more challenging phrases. If you have a small group and/or are working with adults, do this with the drums in a circle, but keep the drums in rows for groups larger than 12 or for kids under 15. Keep this up for a few minutes; it will be engaging to students longer than it’s engaging to you. 

Next, pair students up, and have them choose someone to be A (the other person is B). Count everybody in; all As play a 4-beat phrase at the same time, and all Bs answer at the same time. Give them a “So-re” to reset and then all Bs play a phrase at the same time and all As answer at the same time. Do several rounds of this. If they get good at it, take out the “So-re” and just have them trade call and answer patterns continuously.

This gets tricky, because students really have to focus to hear the pattern their partner is playing. The advantage is that everyone is playing at the same time, so students feel quite safe in playing an improvised 4 beat pattern.

Finally, go back to large group call and answer, but this time, have students call instead of you. One student calls, everyone answers; the next student calls, everyone answers; and so on. If you have a small group and/or adults, do this in a circle. If you’re working with a group that doesn’t do well in a circle, keep them in rows and pass the call up and down the rows.

You can do these exercises in a row, or one each class, or repeat them all regularly. If you use them, let me know. Happy teaching!


Taiko Game: Hey hey, look at me (K-3)

Goofing around is integral to learning improvisation. A kid (or adult) who’s goofing around, making funny faces, talking in a silly voice, is learning to take risks and trust their creative instincts; with just a little bit of structure, goofing around becomes a precise educational tool.

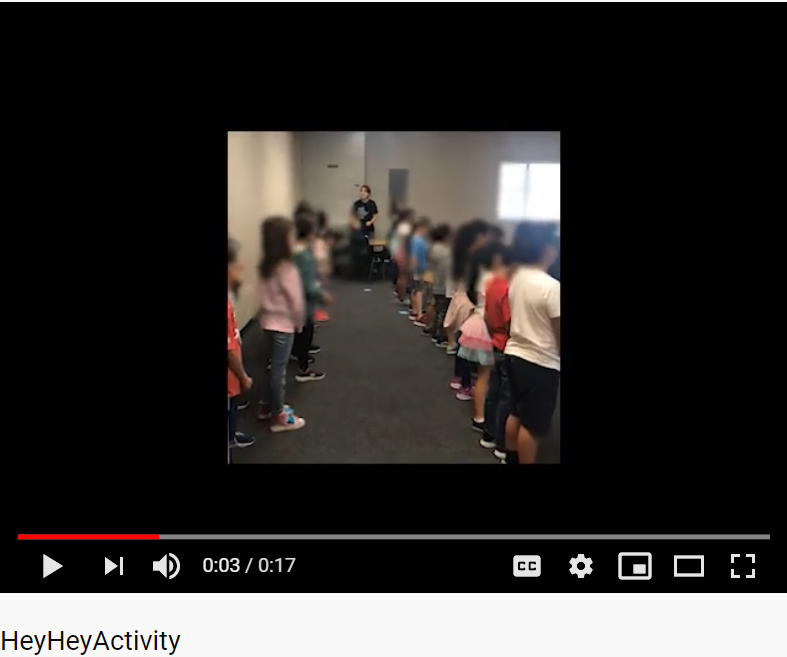
“Hey Hey, Look at Me,” a game from my Orff training, is structured goofing around at its finest. Here’s how it works. 

1. Echo teach this song (see video for tune, or invent your own):

Hey hey, look at me

Make yourself look just like me.

2. Arrange students in 2 rows facing each other. Designate one row as #1 and the other as #2. Have row #2 turn their backs to row #1.

3. Have all students sing the song. When they finish, clap twice. At the first clap, students in row #1 strike a pose. At the second clap, students in row #2 turn around to face their partner and copy them. 

4. Repeat with row #2 striking the pose and row #1 copying. 

K-3 students LOVE this game. In the video, I’m keeping the pulse of the song with rhythm sticks, and giving the Pose/Copy cues in time with that pulse. This is slightly more advanced. Introduce the game as described above and work your way up to how I’m doing it in the video.

Bonus: once kids have learned it, this works great as an attention-getter. All you have to do is sing the first few notes and all eyes in the room will be glued to you. 

High school students and adults have fun with this game as well. The only age where it doesn’t work is pre-teen and early teen. It’s far too goofy for that age. In the future I’ll share activities that work better for those ages. Happy teaching!